Family Encyclopedia >> Family

Easy DIY Easter Bunny Pouch: Beginner Sewing Tutorial (45 Minutes)

Easy DIY Easter Bunny Pouch: Beginner Sewing Tutorial (45 Minutes)

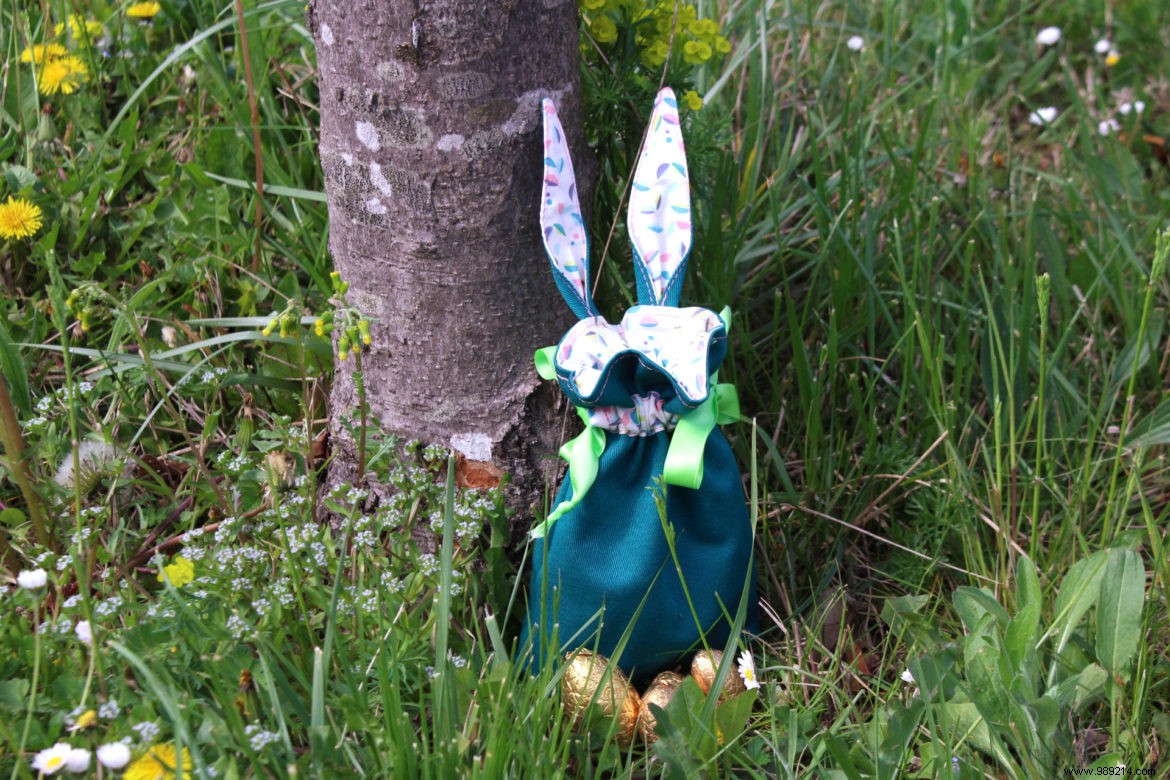
Easter brings sunny days and endless crafting fun for toddlers. Bunnies, eggs, and chicks spark imaginations across generations. This simple pouch reuses fabric scraps from past projects, takes just 45 minutes, and is perfect for beginners with a sewing machine.

  • Difficulty: Beginner
  • Requires a sewing machine: Yes

Easy DIY Easter Bunny Pouch: Beginner Sewing Tutorial (45 Minutes)

Materials Needed

  • 2 twill rectangles, 17 x 23 cm, for the pouch exterior;
  • 2 printed cretonne rectangles, 17 x 23 cm, for the lining, plus 2 of 17 x 4 cm for the channels;
  • 2 ear pieces with rounded tips (5.5 cm base, 14 cm height) from each fabric;
  • 1 spool of matching thread;
  • 1 m satin ribbon;
  • Pins.

Easy DIY Easter Bunny Pouch: Beginner Sewing Tutorial (45 Minutes)

Step 1

  1. Press the 17 x 4 cm rectangles with an iron to form the channel strips.
  2. Fold the ribbon in half widthwise and mark the fold.
  3. Fold under 0.5 cm on each long edge. Press flat. Repeat on the other side.
  4. Fold each short end under 1 cm and press.

Easy DIY Easter Bunny Pouch: Beginner Sewing Tutorial (45 Minutes)

Step 2

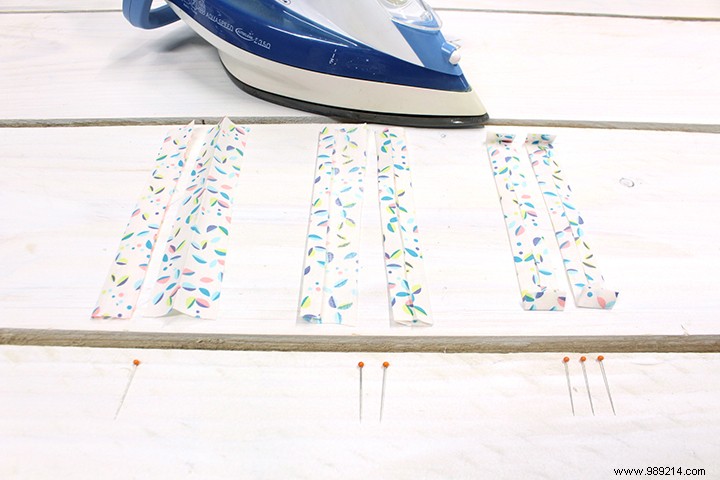
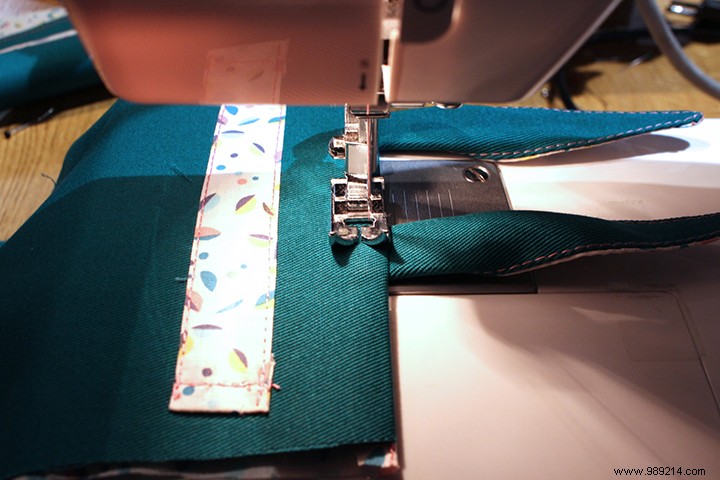
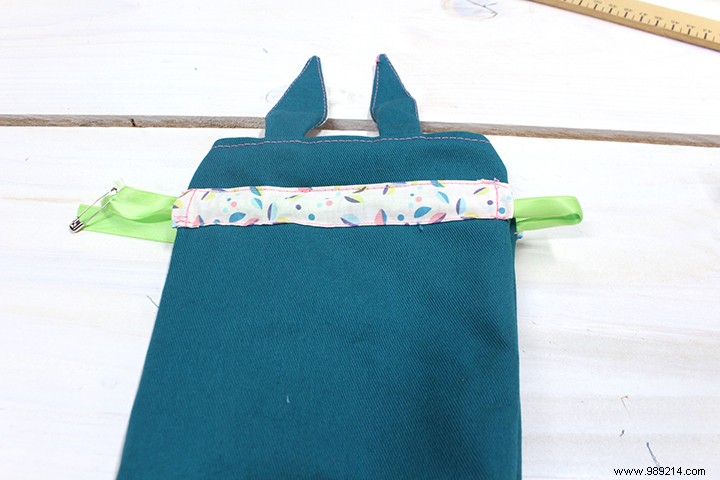
Topstitch each end of the ribbons 6 mm from the edge.

Easy DIY Easter Bunny Pouch: Beginner Sewing Tutorial (45 Minutes)

Step 3

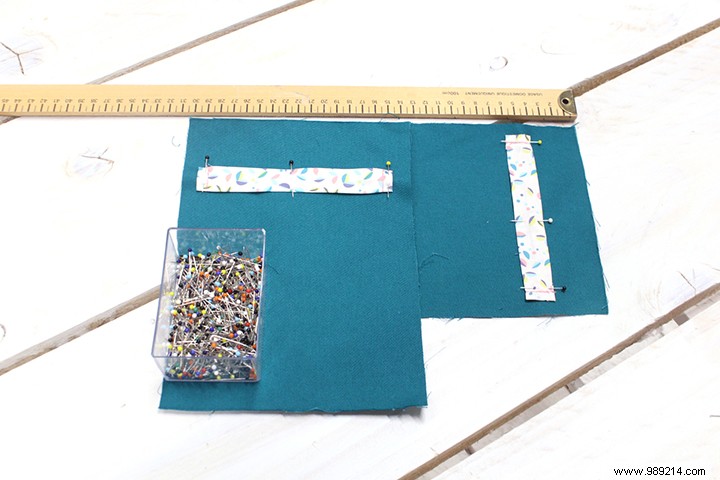
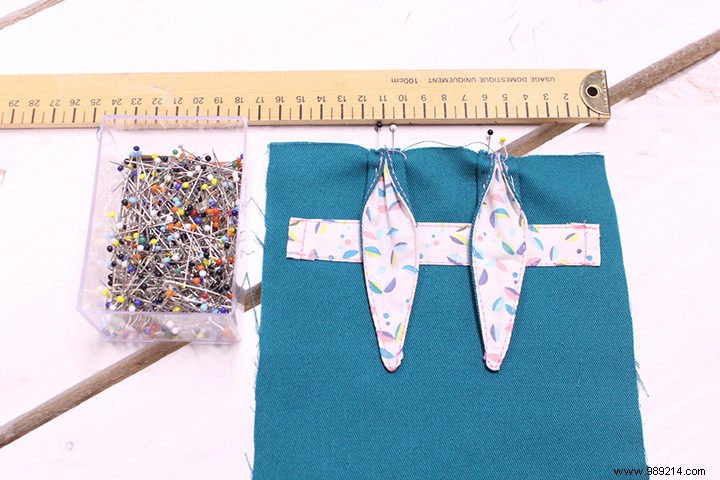
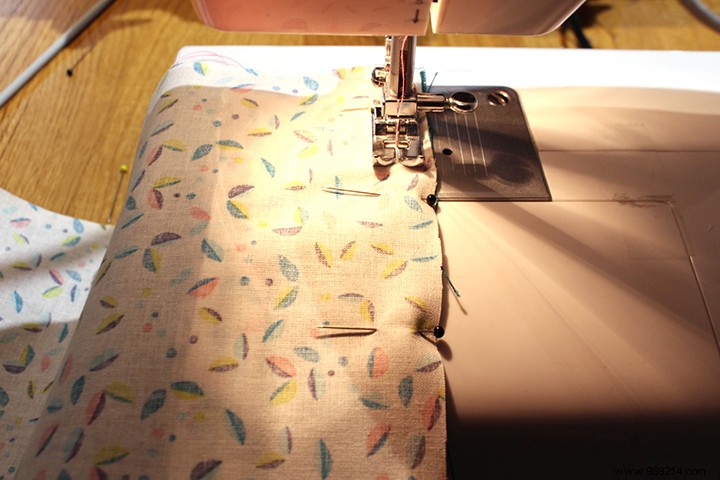
Center and pin the ribbons to the right side of the large twill rectangles, 4 cm from one short edge.

Easy DIY Easter Bunny Pouch: Beginner Sewing Tutorial (45 Minutes)

Step 4

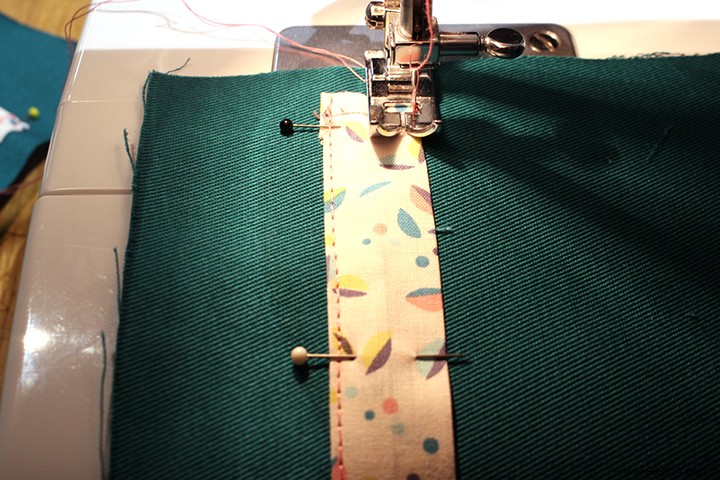
Topstitch the channels 1 mm from each long edge.

Easy DIY Easter Bunny Pouch: Beginner Sewing Tutorial (45 Minutes)

Step 5

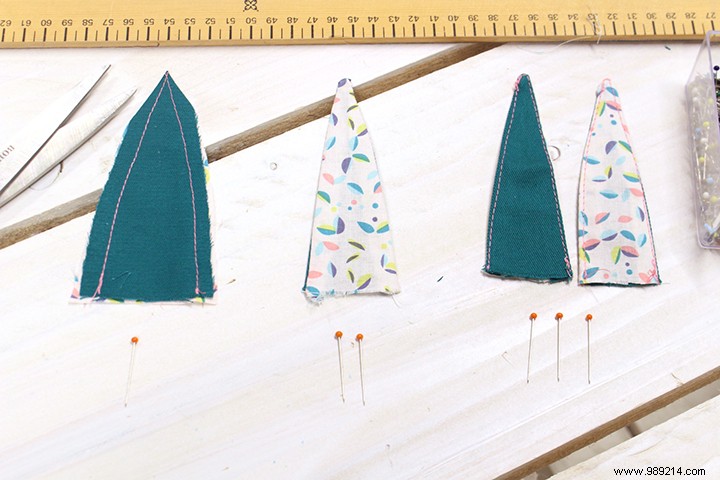
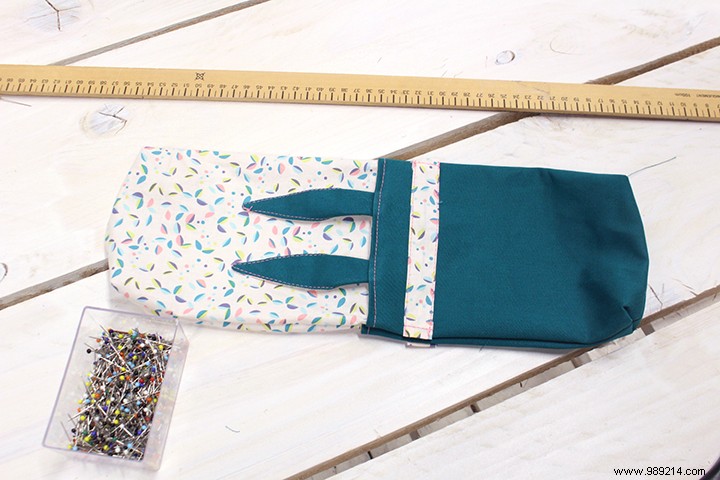
Pin each cretonne ear to a twill ear, right sides together.
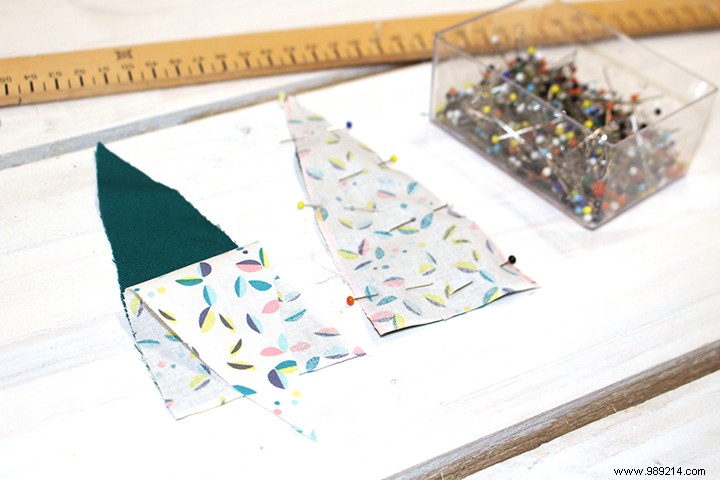
Easy DIY Easter Bunny Pouch: Beginner Sewing Tutorial (45 Minutes)

Step 6

To shape the ears:

  1. Sew 1 cm from the edge, leaving the base open. Notch the tip.
  2. Turn right side out.
  3. Topstitch 1 mm from the edge.

Easy DIY Easter Bunny Pouch: Beginner Sewing Tutorial (45 Minutes)

Step 7

Fold the ear base corners inward on the cretonne side. Pin twill to twill, 5 cm from the sides on one large rectangle's channel edge.

Easy DIY Easter Bunny Pouch: Beginner Sewing Tutorial (45 Minutes)

Step 8

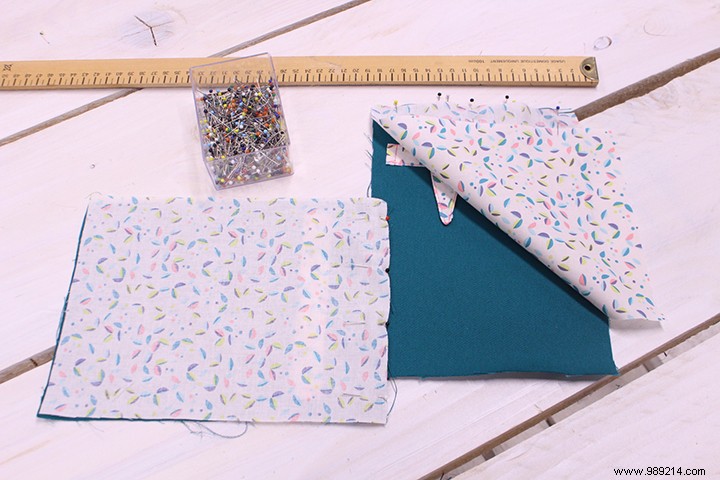
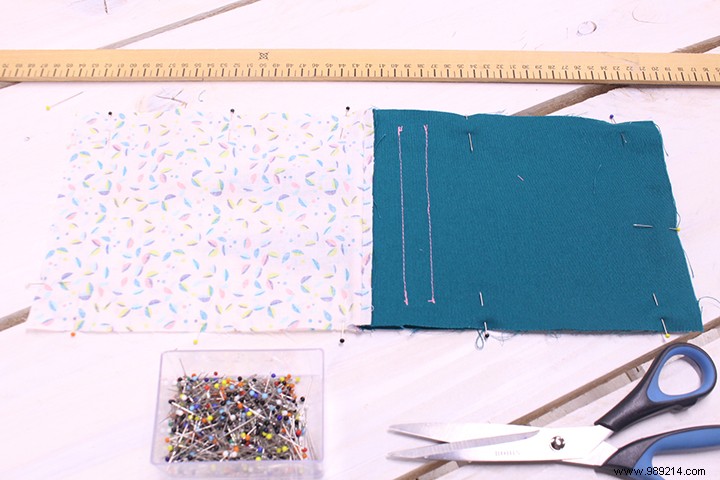
Place lining rectangles on twill rectangles, right sides together. Pin the channel edge.

Easy DIY Easter Bunny Pouch: Beginner Sewing Tutorial (45 Minutes)

Step 9

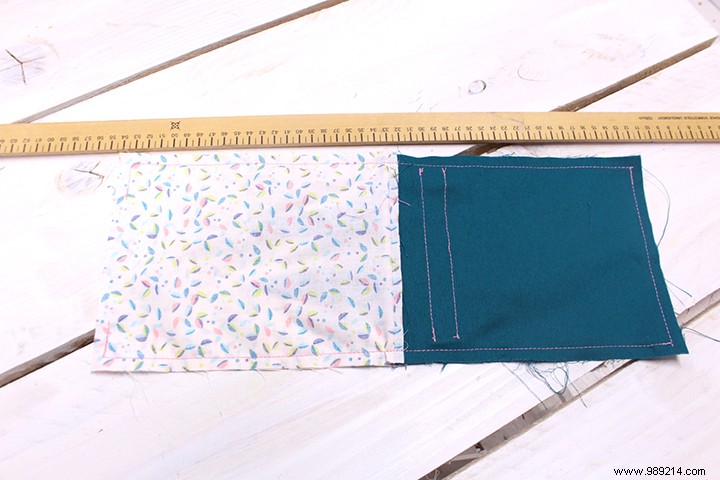
Sew 1 cm from the edge.

Easy DIY Easter Bunny Pouch: Beginner Sewing Tutorial (45 Minutes)

Step 10

Press flat. Topstitch 6 mm from the edge.

Easy DIY Easter Bunny Pouch: Beginner Sewing Tutorial (45 Minutes)

Step 11

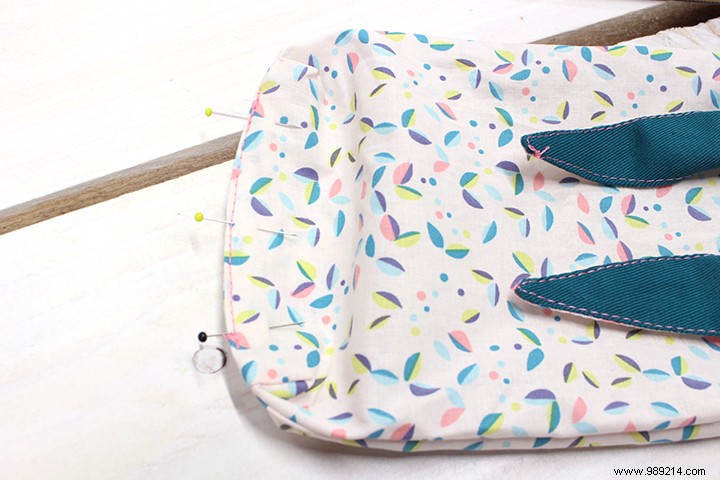
Unfold assemblies and pin right sides together, aligning cretonne and twill.

Easy DIY Easter Bunny Pouch: Beginner Sewing Tutorial (45 Minutes)

Step 12

Sew around 1 cm from the edge, leaving a lining base opening.

Easy DIY Easter Bunny Pouch: Beginner Sewing Tutorial (45 Minutes)

Step 13

Box the lining and exterior corners by matching bottom and side seams.

Easy DIY Easter Bunny Pouch: Beginner Sewing Tutorial (45 Minutes)

Step 14

Sew perpendicular to the bottom seam, 2 cm from the corner point.

Easy DIY Easter Bunny Pouch: Beginner Sewing Tutorial (45 Minutes)

Step 15

Turn pouch right side out through the lining opening.

Easy DIY Easter Bunny Pouch: Beginner Sewing Tutorial (45 Minutes)

Step 16

Pin and topstitch the lining bottom 1 mm from the edge.

Easy DIY Easter Bunny Pouch: Beginner Sewing Tutorial (45 Minutes)

Step 17

Thread one ribbon through one channel using a safety pin, then the opposite channel, ends on same side. Repeat from opposite side with second ribbon. Knot ends.

Easy DIY Easter Bunny Pouch: Beginner Sewing Tutorial (45 Minutes)

Sourced from Mondial Tissus, expert sewing resource.