This beginner-friendly tutorial sharpens your crafting skills while adding a fresh, stylish touch to your home decor. As an experienced crafter, I've tested this method for durability and ease.
For this project:
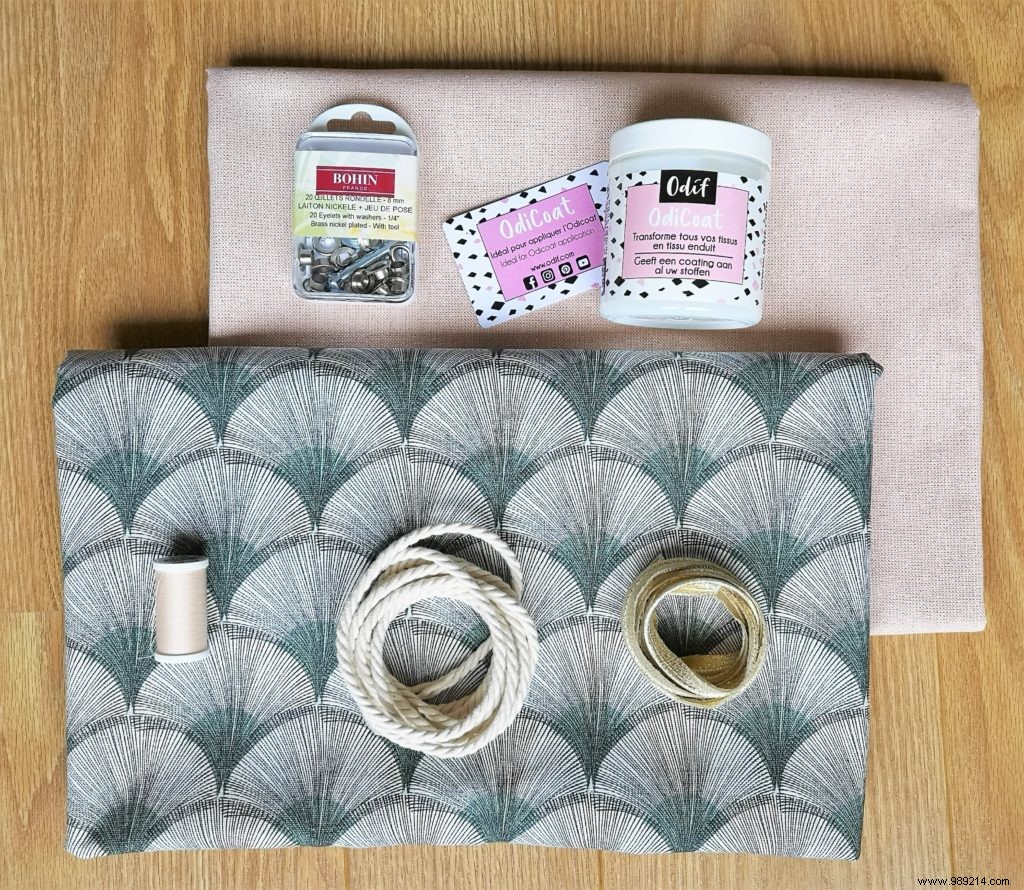
• 2 fabric swatches (baize or cotton twill; one for lining, one for exterior) sized to pot height + 10 cm. I used papyrus baize and gold lurex baize.
• Matching thread spool
• 3 x 8 mm eyelets
• 2.5 m cord (or more, based on pot size and hanging height)
• Odicoat waterproofing gel by Odif
• Clips (for holding fabric)
• Optional: 50 cm piping
1. Measure your pot/cachepot: height, circumference, and widest diameter.
• Cut two rectangles (one liner, one exterior): pot height + 10 cm by max circumference + 6 cm.
• Example: For a 12 cm high, 33 cm circumference pot, cut 22 cm x 39 cm rectangles.
• Optional piping: Add 2 cm height to exterior rectangle. Cut two bottom circles: pot's widest diameter + 1.5 cm (use a compass for precision).
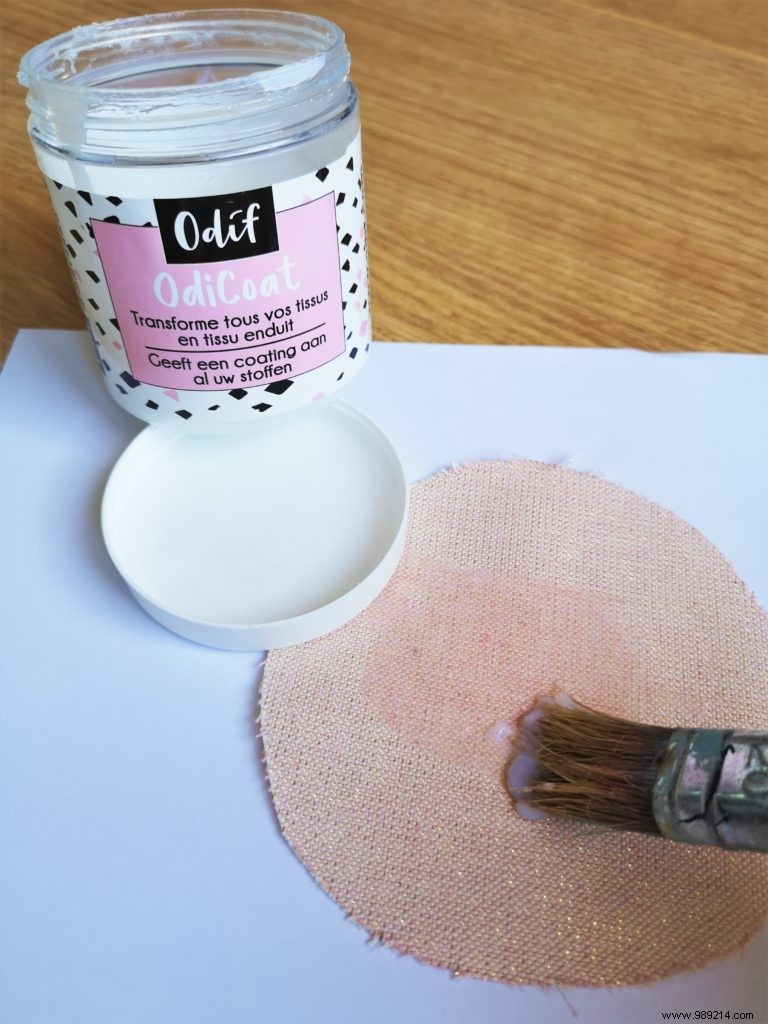
2. Apply Odicoat gel to fabrics using the provided card or a brush. Two thin coats suffice; add a third for full waterproofing. Dry 20 minutes between coats, 24 hours before handling. Iron without steam over parchment paper for permanent set. Follow jar instructions precisely.
3. Piping option: Cut exterior rectangle to 2/3 width. Sandwich piping between exterior fabrics, right sides together.
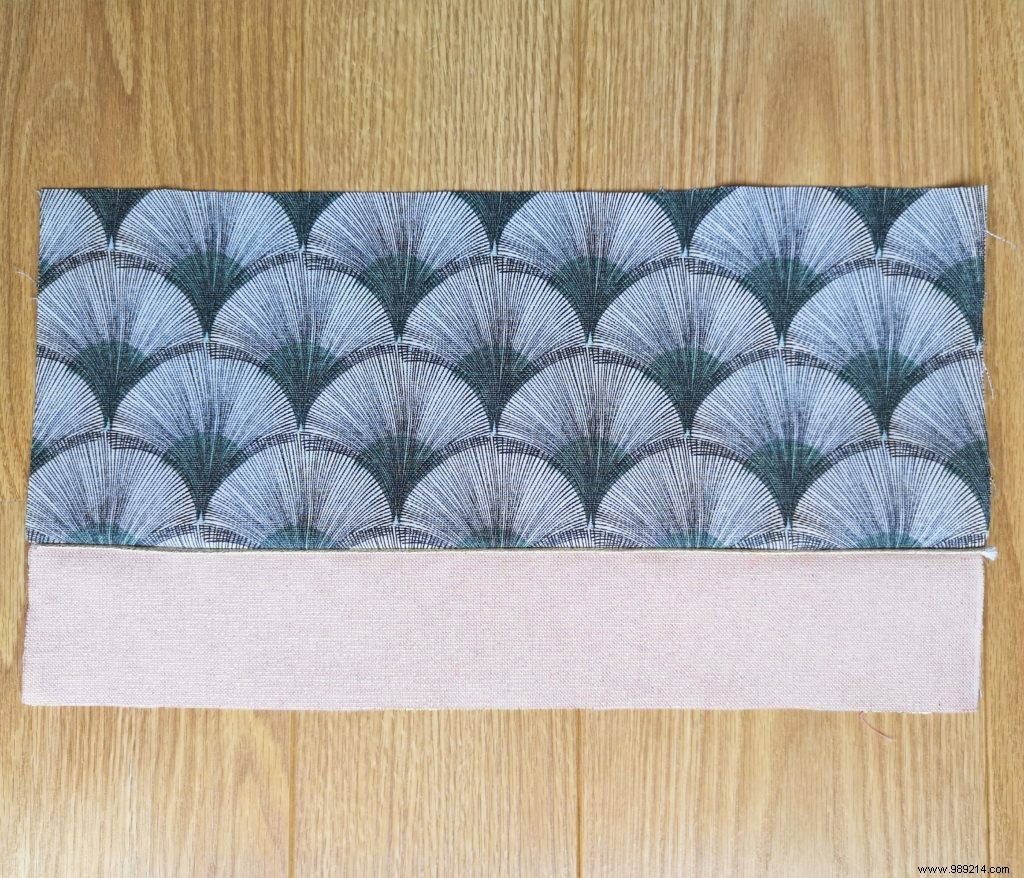
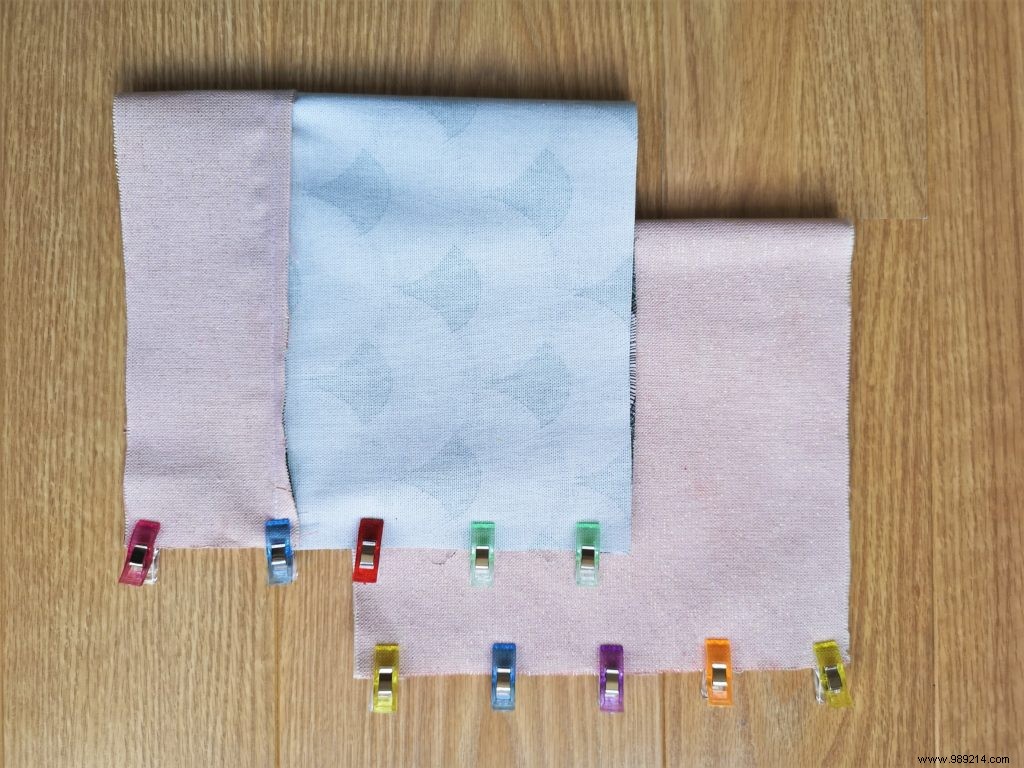
4. Join rectangles along height edges with clips (fabric is stiff post-coating).
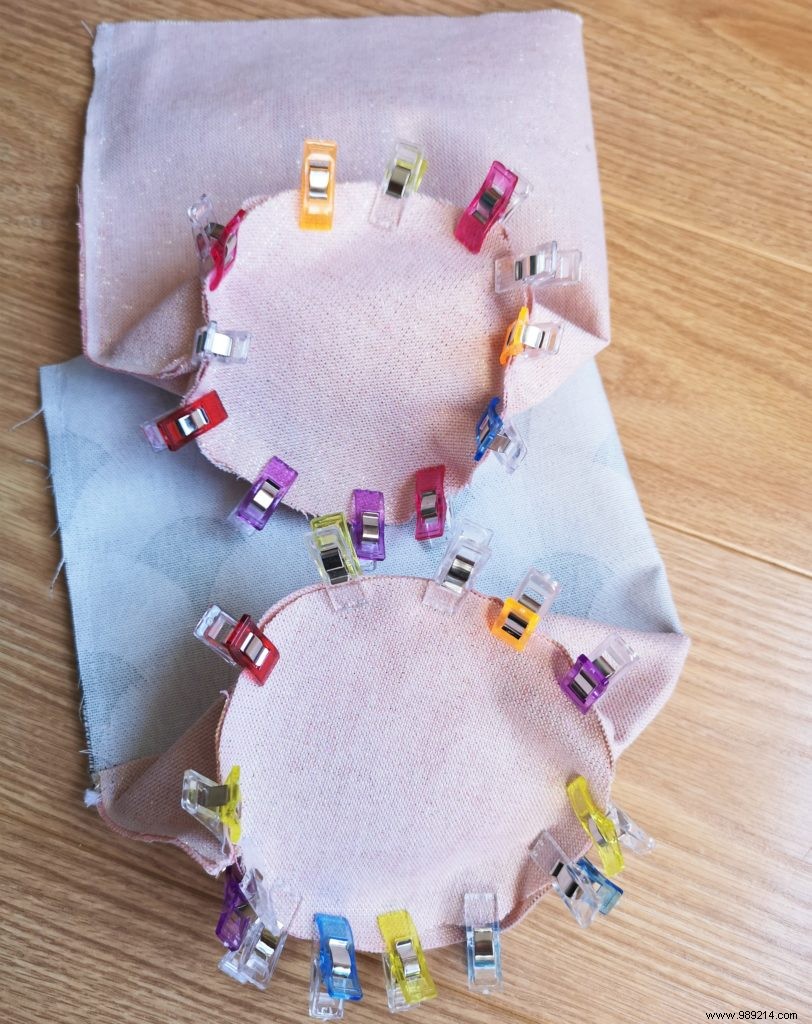
5. Hand-sew bottoms to tubes. Go slowly, easing fabric evenly with clips.
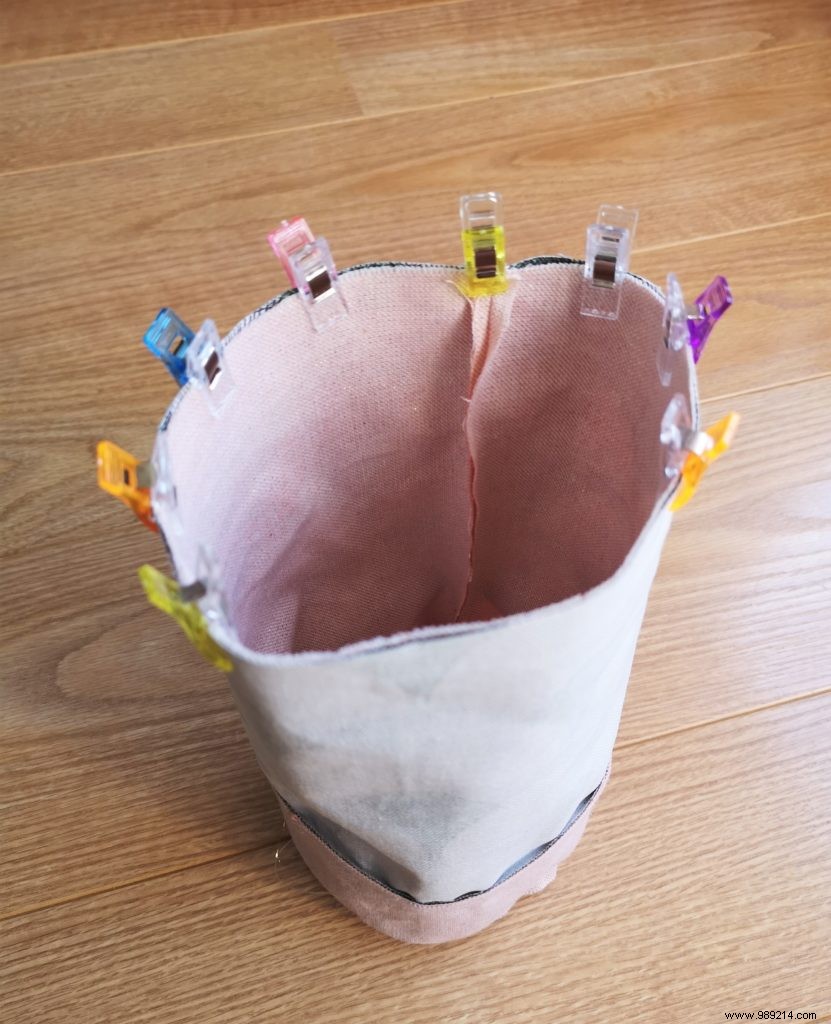
6. Nest tubes right sides together; sew around, leaving 10 cm opening to turn.
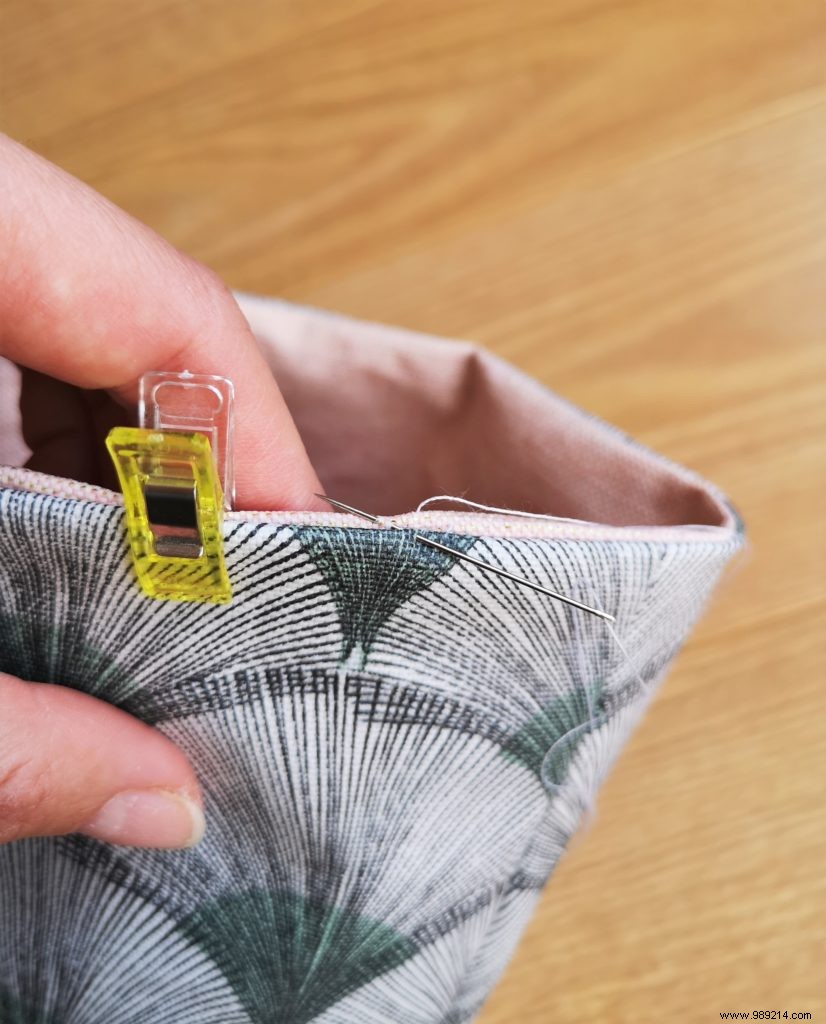
7. Turn right side out; hand-close opening with invisible stitch.
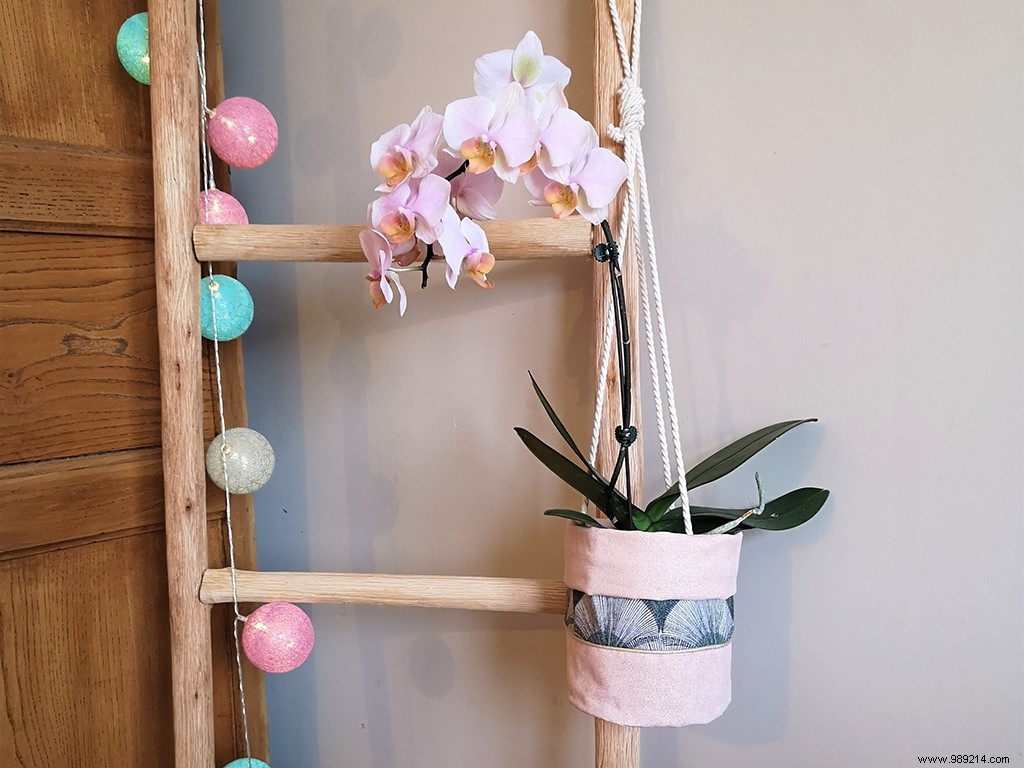
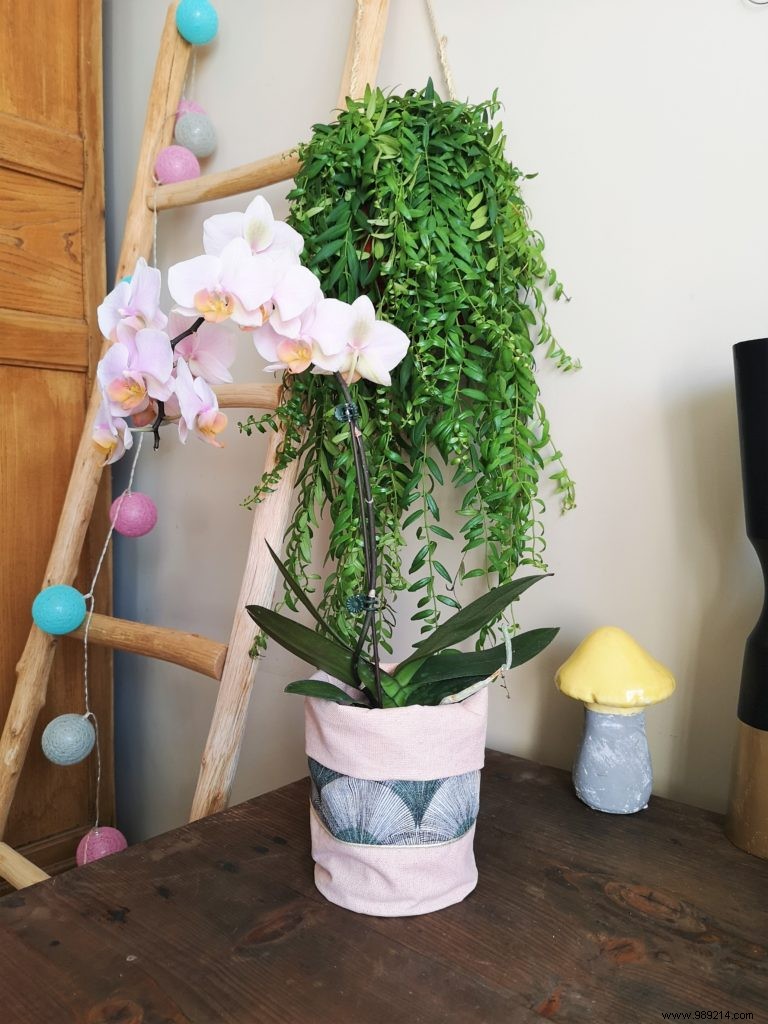
8. Fold top outward, slide pot inside, and position as desired!
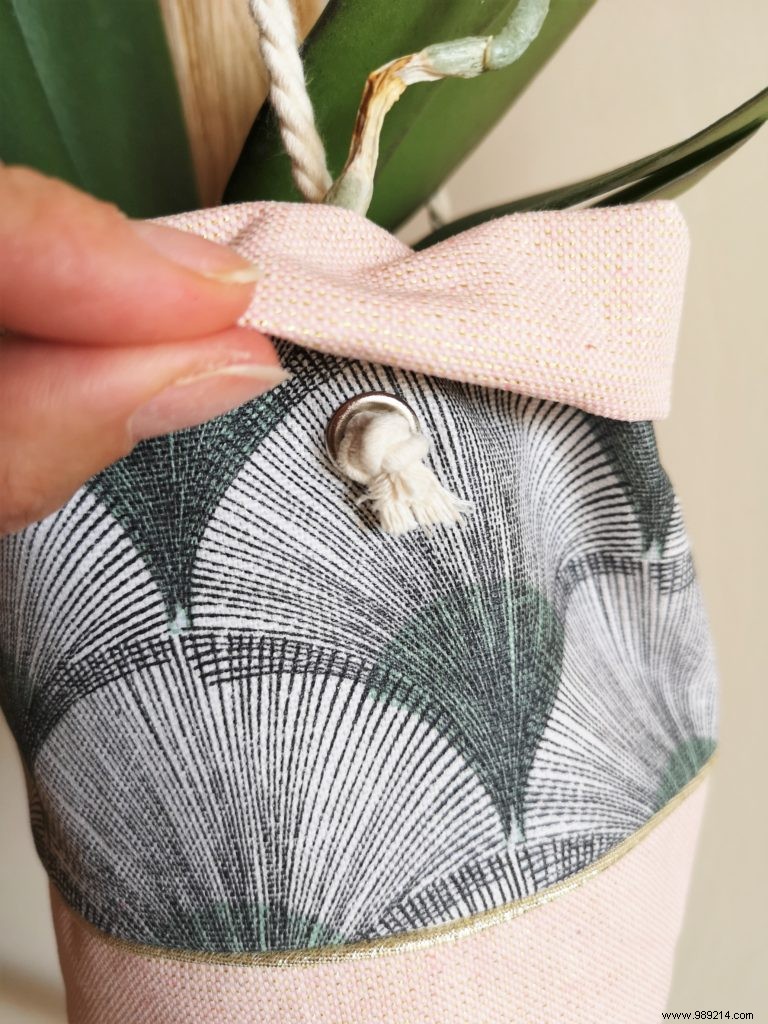
9. Hanging option: Add 3 eyelets evenly at top. Cut cord into 40-60 cm lengths x 3; thread through eyelets and knot.
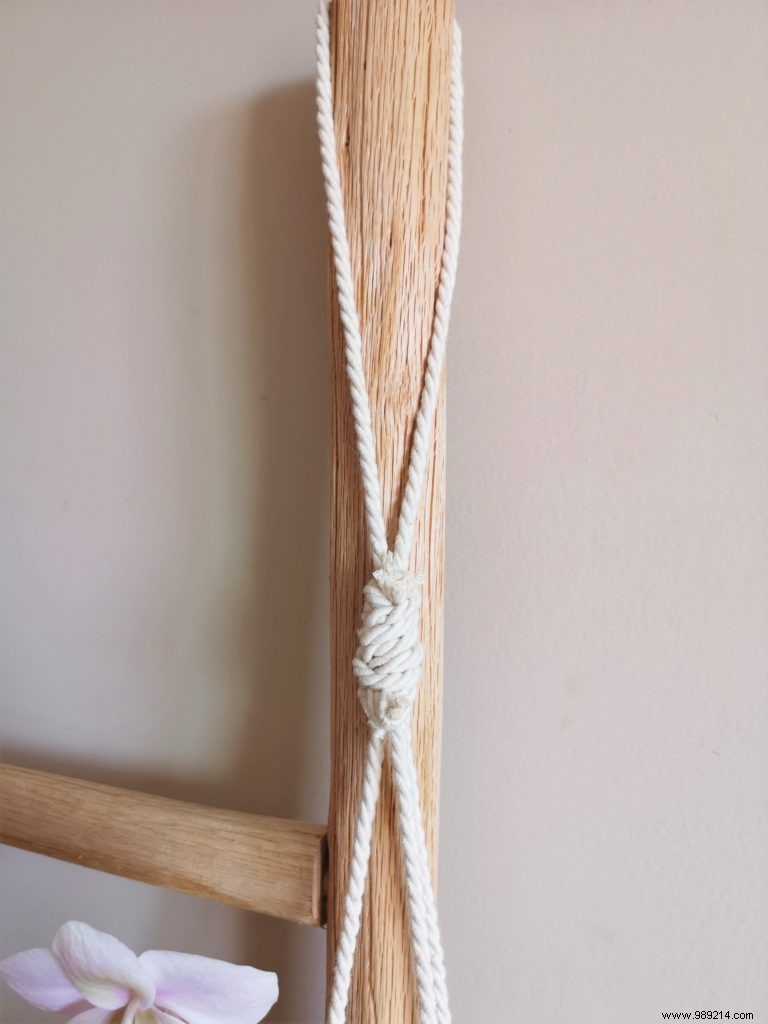
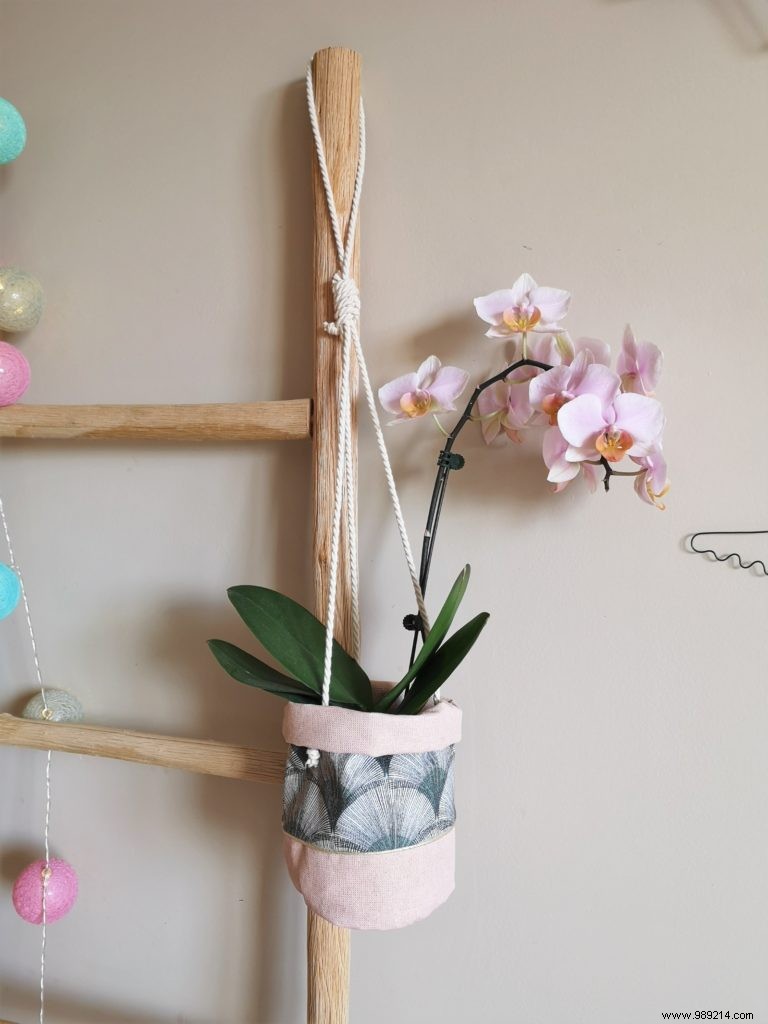
10. Tie cord ends together at top. Add a loop with remaining cord for hanging.
Source: www.mondialtissus.fr